Appearance
添加 web 依赖
上一节由于我们没有监听任何端口,导致程序启动成功后就自己结束了,只能打印个字符串,我们想要程序一直运行下去就要添加 web 依赖
添加 web
根目录下打开 build.gradle 文件,我们会看到:
plugins {
	id 'org.springframework.boot' version '2.7.0'
	id 'io.spring.dependency-management' version '1.0.11.RELEASE'
	id 'java'
}

group = 'com.example'
version = '0.0.1-SNAPSHOT'
sourceCompatibility = '11'

repositories {
	mavenCentral()
}

dependencies {
	implementation 'org.springframework.boot:spring-boot-starter'
	testImplementation 'org.springframework.boot:spring-boot-starter-test'
}

tasks.named('test') {
	useJUnitPlatform()
}
这里表明了我们的 springboot 版本和 jdk 的版本,下面的 dependencies 就是我们管理依赖项的地方,我们在里面添加一条也就是 web ,变成下面这样
dependencies {
	implementation 'org.springframework.boot:spring-boot-starter'
	implementation 'org.springframework.boot:spring-boot-starter-web'
	testImplementation 'org.springframework.boot:spring-boot-starter-test'
}
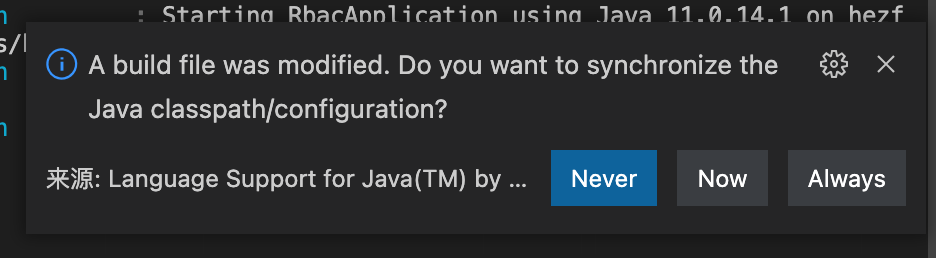
保存文件后,插件 Language Support for Java 会提示我们依赖文件变化了,是否同步配置,我们选择 Now 就可以了,这时候实际上就是开始下载 web 依赖项了
下载完毕,我们仍然找到 JAVA PROJECTS,下面就有我门刚才导入的项目名称,右键点击 debug
控制台会打印出启动的信息,其中有一条是这样的,就是这个应用在本地的 8080 端口启动了
Tomcat initialized with port(s): 8080 (http)
如上所示,Tomcat 在 8080 端口启动监听了,这时候访问本地的 http://localhost:8080/,会显示 Whitelabel Error Page 这是因为我们没有响应根路由导致的,返回了 404
启动后 vscode 右上角会出现一个小的工具栏,点击红色的框就可以结束应用的运行
这时候我们知道了,添加上 web 模块以后,应用就可以一直跑下去了,运行在本地的某个端口,需要我们手动控制才会停止
添加 Controller
由于我们没有对根路由有配置或者反馈,导致服务返回了 404,下面我们来实现一个 Controller
在 src/main/java/com/example/rbac/helloworld/controller 新建一个 HelloWorldController.java 文件:
package com.example.rbac.helloworld.controller;

import org.springframework.web.bind.annotation.GetMapping;
import org.springframework.web.bind.annotation.RequestMapping;
import org.springframework.web.bind.annotation.RestController;

@RestController
@RequestMapping("/")
public class HelloWorldController {
  @GetMapping("")
  public String sayHello() {
    return "Hello RBAC!";
  }
}
完成后重新启动,访问 http://localhost:8080/,会显示 Hello RBAC!
以上我们就完成了一个最简单的 web 应用,可以称之为 web1.0 吧,只能用做信息展示,web3.0 的概念还不错,就是大部分都是割韭菜的,还没遇到真正有实用价值的应用